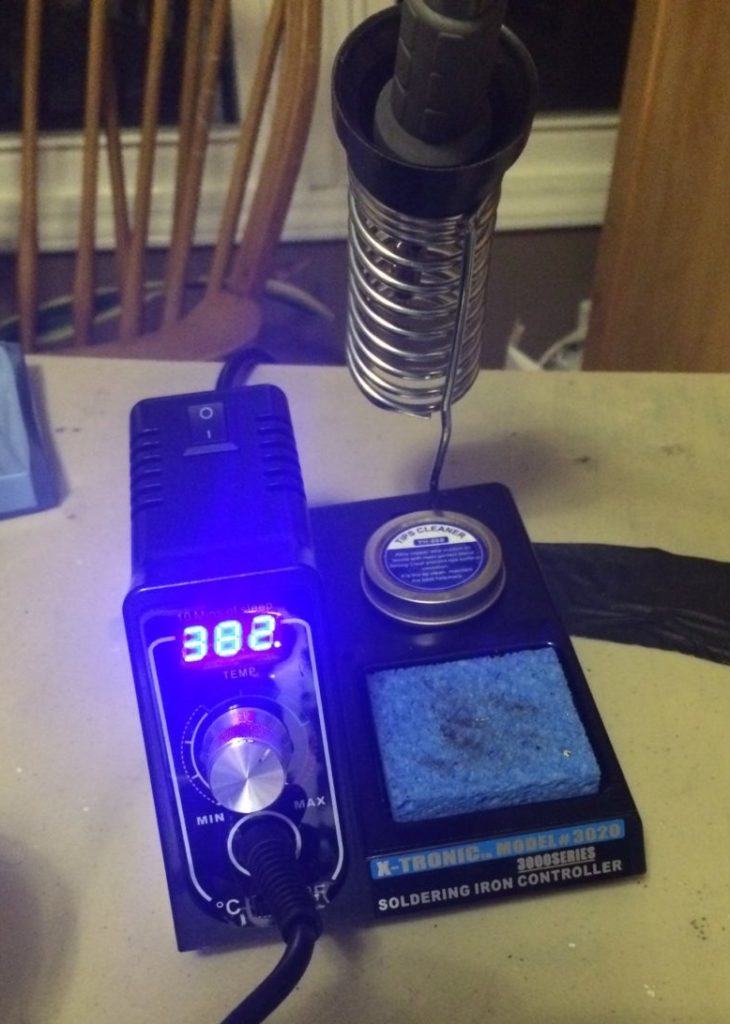
Quick update – I’m soldering the various parts of the circuit. My old Weller soldering iron died, so I bought a new one.

I wanted to use attach the components so that they would be easy to plug/unplug without having to resolder the main circuit board. I bought a JST connector kit and a crimper. Perhaps another style of connector would be better; I’m not an expert on these.
I also had a bunch of old jumper wires around, and since the distances were short, I just used those.

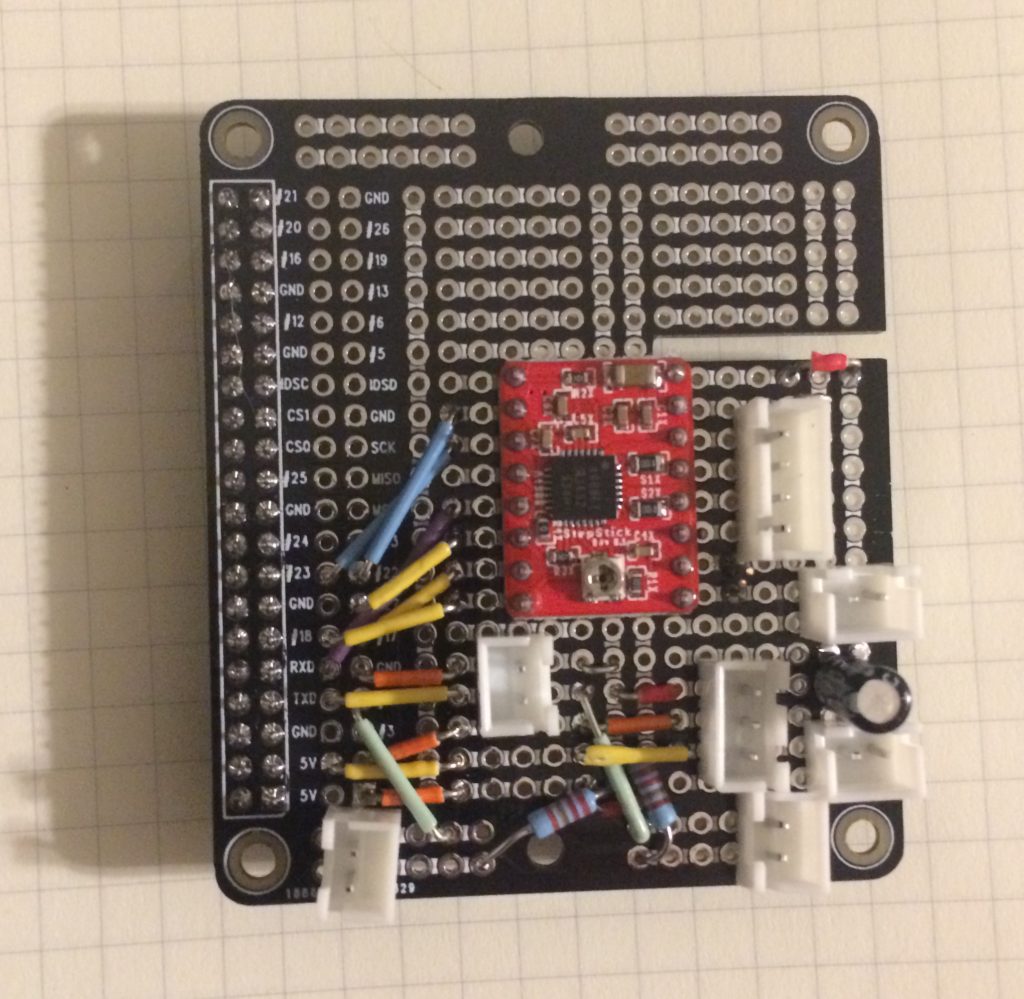
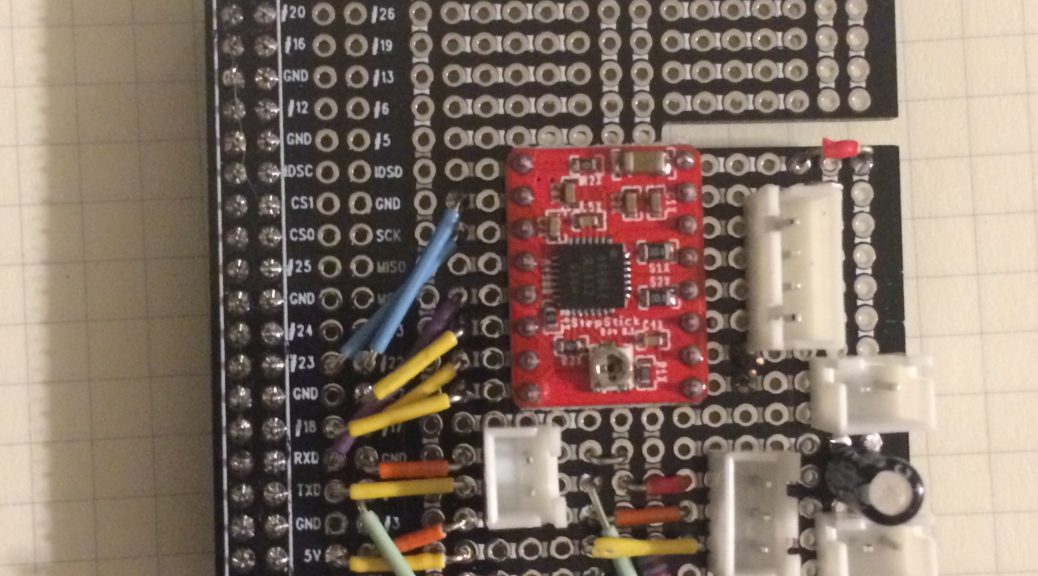
The finished circuit board as designed in part 8. Note the slot for the camera cable.

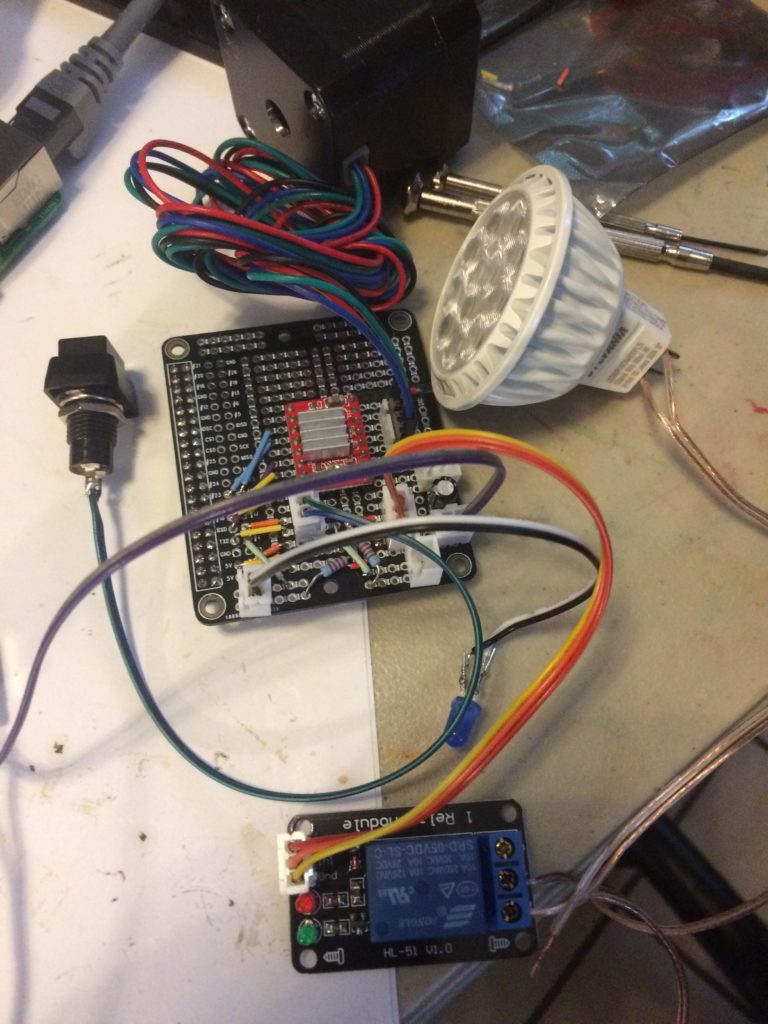
I have attached some of the components — indicator LED, switch, motor, lamp LED. You will notice that the lamp LED is not the star-shaped one I was originally planning to use. This one is closer to Joe’s original, and I’m using it to keep the “version one” project simpler.
I have done some testing with the Rasperry Pi and the rpi-film-capture software, and it almost works.
More to come!

